fpx: easy USB‑C power for all your devices
Tiny & easy to configure module that enables use of USB‑C (USB‑PD) chargers, adapters & power banks as power sources.
Power your next project with USB‑C or upgrade your existing devices.
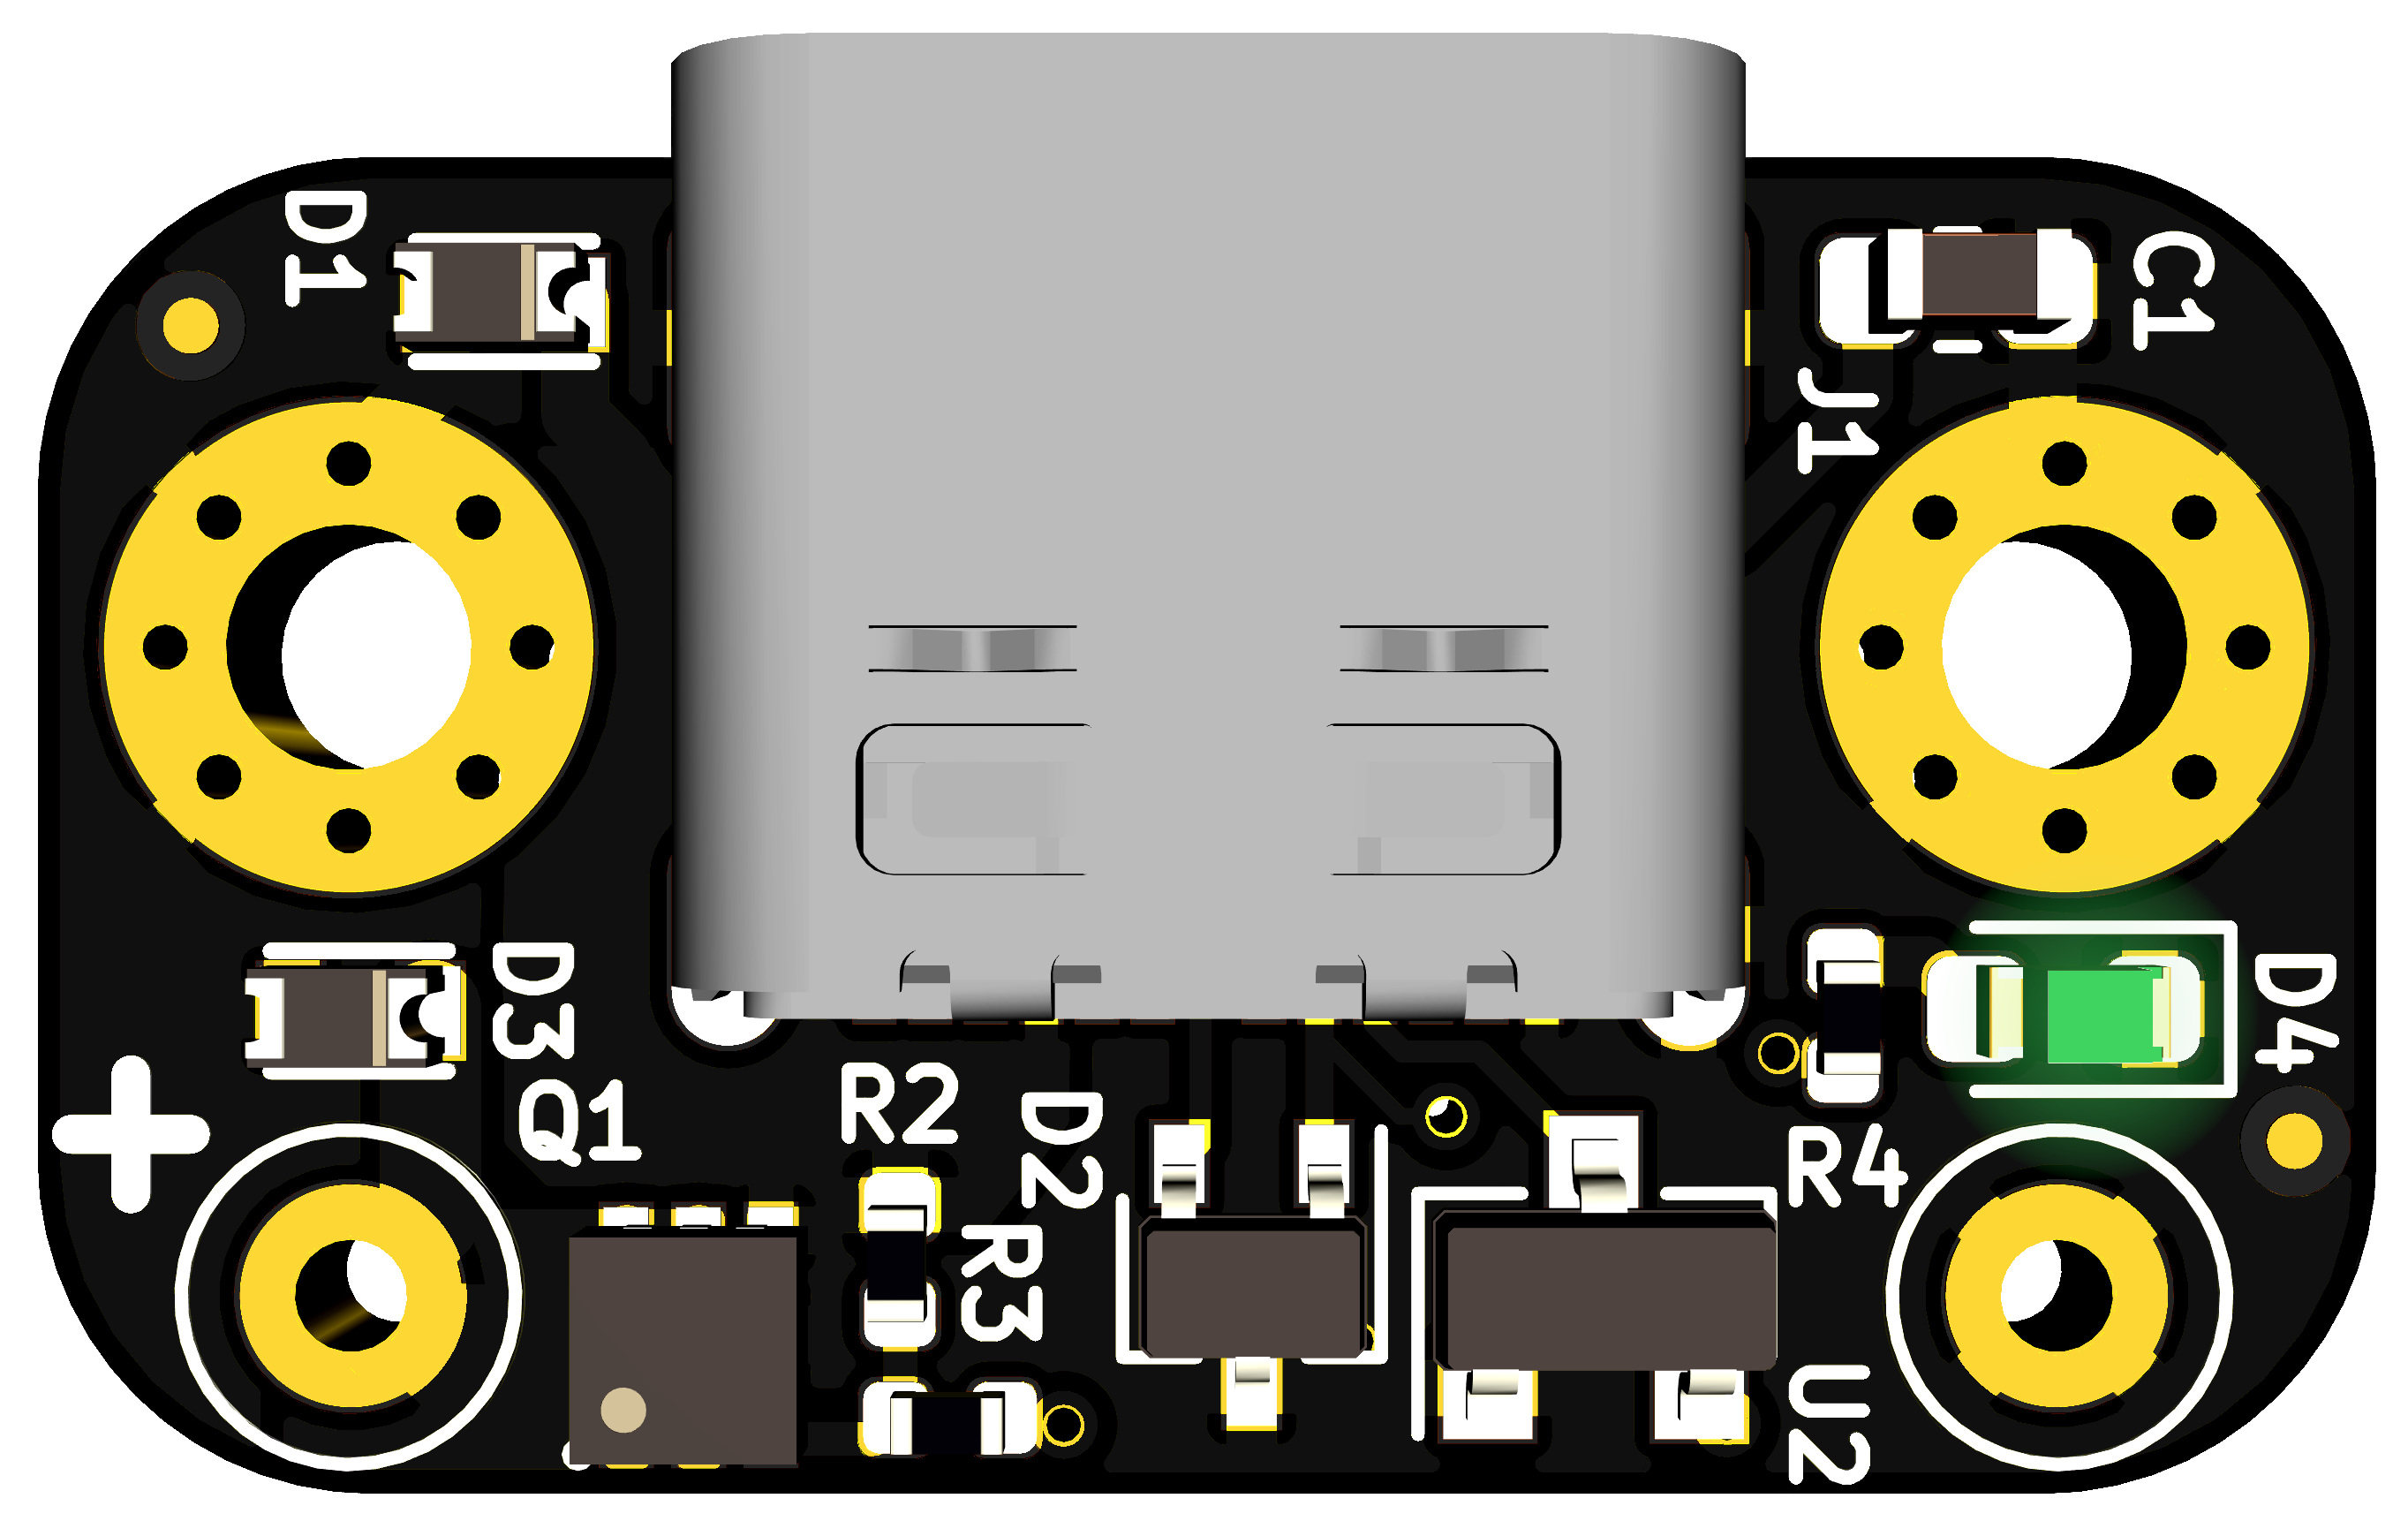
21mm (L) × 12mm (W) × 6mm (H)
Features
- Configure (and reconfigure) in a few seconds using any smartphone, tablet, watch or a workstation/laptop.
- Up to 100W (20V @ 5A) output.*
- Voltages: 5V, 9V, 12V, 15V and 20V.*
- Currents: 0.5A‑5A in 0.25A steps.*
- M2 mounting holes.
- Reverse voltage, over-voltage & ESD protection on USB pins and output terminals.
- Supply line discharge on cable detachment and voltage changes.
- Supply voltage monitoring and auto‑shutoff (protection against malicious or misbehaving sources).
- ATtiny based open source hardware, firmware and configuration tool.
Benefits
- Expand the type of projects you can do with easy and safe power up to 100 watts.*
- Power your devices by your car adapter and on the go with a power bank, instead of only with the wall adapters they came with.
- Power more of your portable devices with a single adapter when travelling.
- One set of USB‑C adapters means backup power for every USB‑C powered device you have.
- Re‑use your high quality USB‑C adapters and save space storing random bricks and save time looking for them.
- Freedom to pick what length of cable to use.
- Replace damaged cables only, not entire adapters.
* available voltage, current and output power depend on capabilities provided by your power source
* higher outputs require lower guage wires (thicker) and adequate ventilation to ensure the board is kept cool.
Configure
The board has a light sensor which reads your desired configuration from the light pulses generated on this page. You can therefore configure your board from any device with a screen and a Javascript capable browser (e.g. Smart phone/watch, laptop). Watch the how-to video or jump right into it below. Learn more about fpx at my blog.
